
使用 ZeroTier 虚拟组网,配合移动端终端模拟器,实现远程连接与开发,让平板或手机也能作为轻量生产力终端。
A practical guide to using ZeroTier virtual networking with terminal emulators on mobile devices, so tablets and phones can be used as remote productivity terminals.
ZeroTier内网穿透+终端模拟器构建远程移动生产力工具
最近笔者研究内网穿透,尝试寻找穿透工具。网上很多推荐使用ZeroTier实现虚拟组网,笔者也尝试使用 该工具。该工具免费且基本能实现傻瓜式组网,非常方便。虽然其服务器在外网导致访问速度较慢,但是如果是使用ssh或者ftp 也绰绰有余了。而最近笔者又发现ZeroTier在移动端也有客户端可以使用,这也就意味着如果在移动端拥有终端模拟器,就可以远程进行开发工作了!
ZeroTier简单使用方法
注册/新建虚拟局域网
进入ZeroTier官网,注册账号并登录,登陆后你可以看到如下图的界面:

- 点击上方[Create A Network]后会在下方Network的列表中新建一个虚拟局域网进入该局域网设置界面。
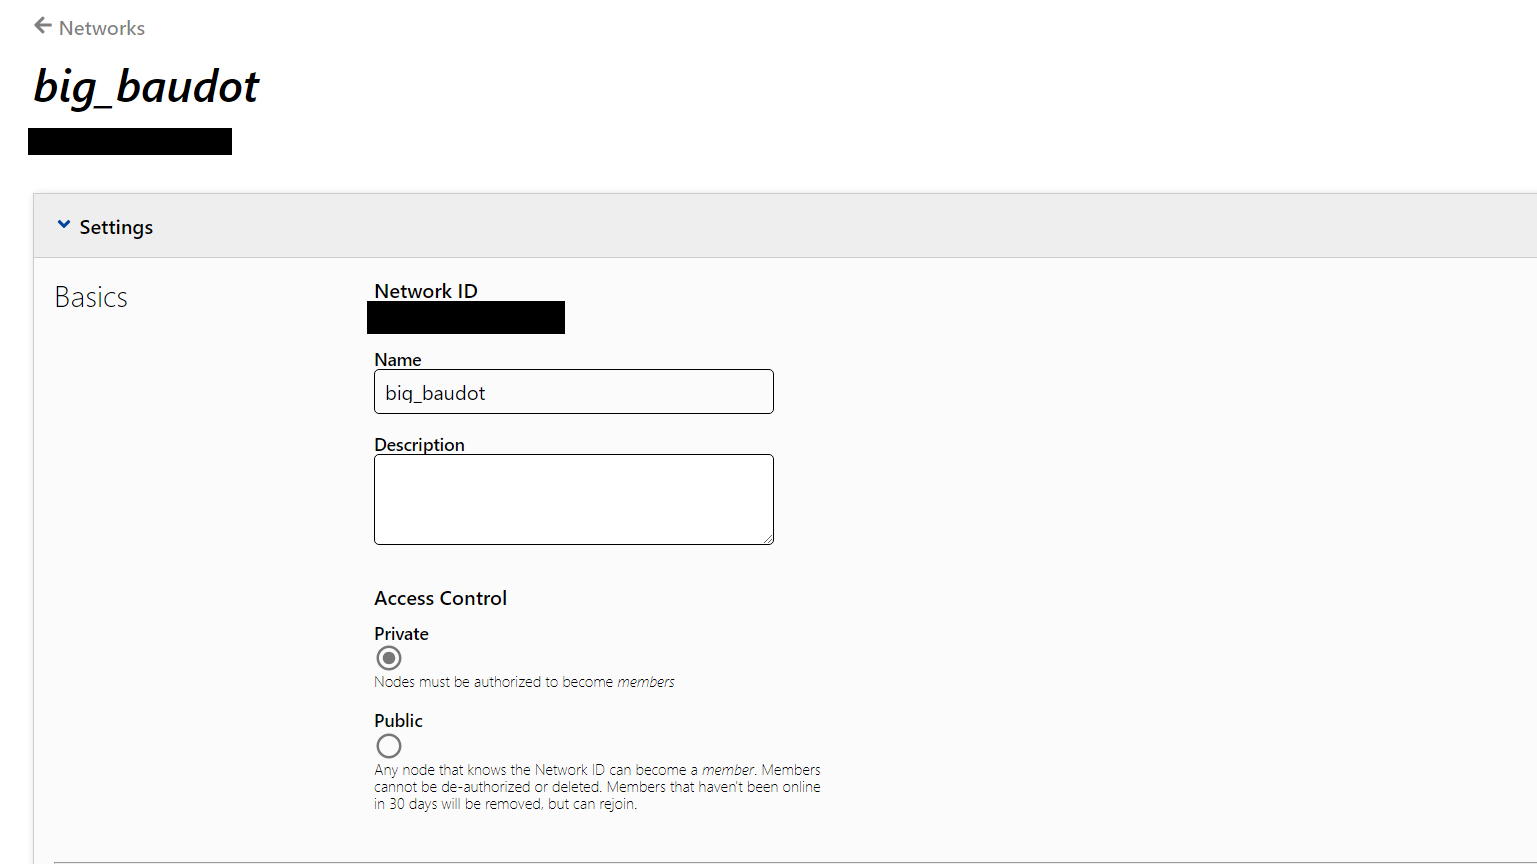
- 基础设置可以修改网络的名称与描述以及私密性。推荐设置为Private,毕竟你并不想别人随意访问你的虚拟局域网。连接时需要使用的信息是Network ID这一栏的信息。
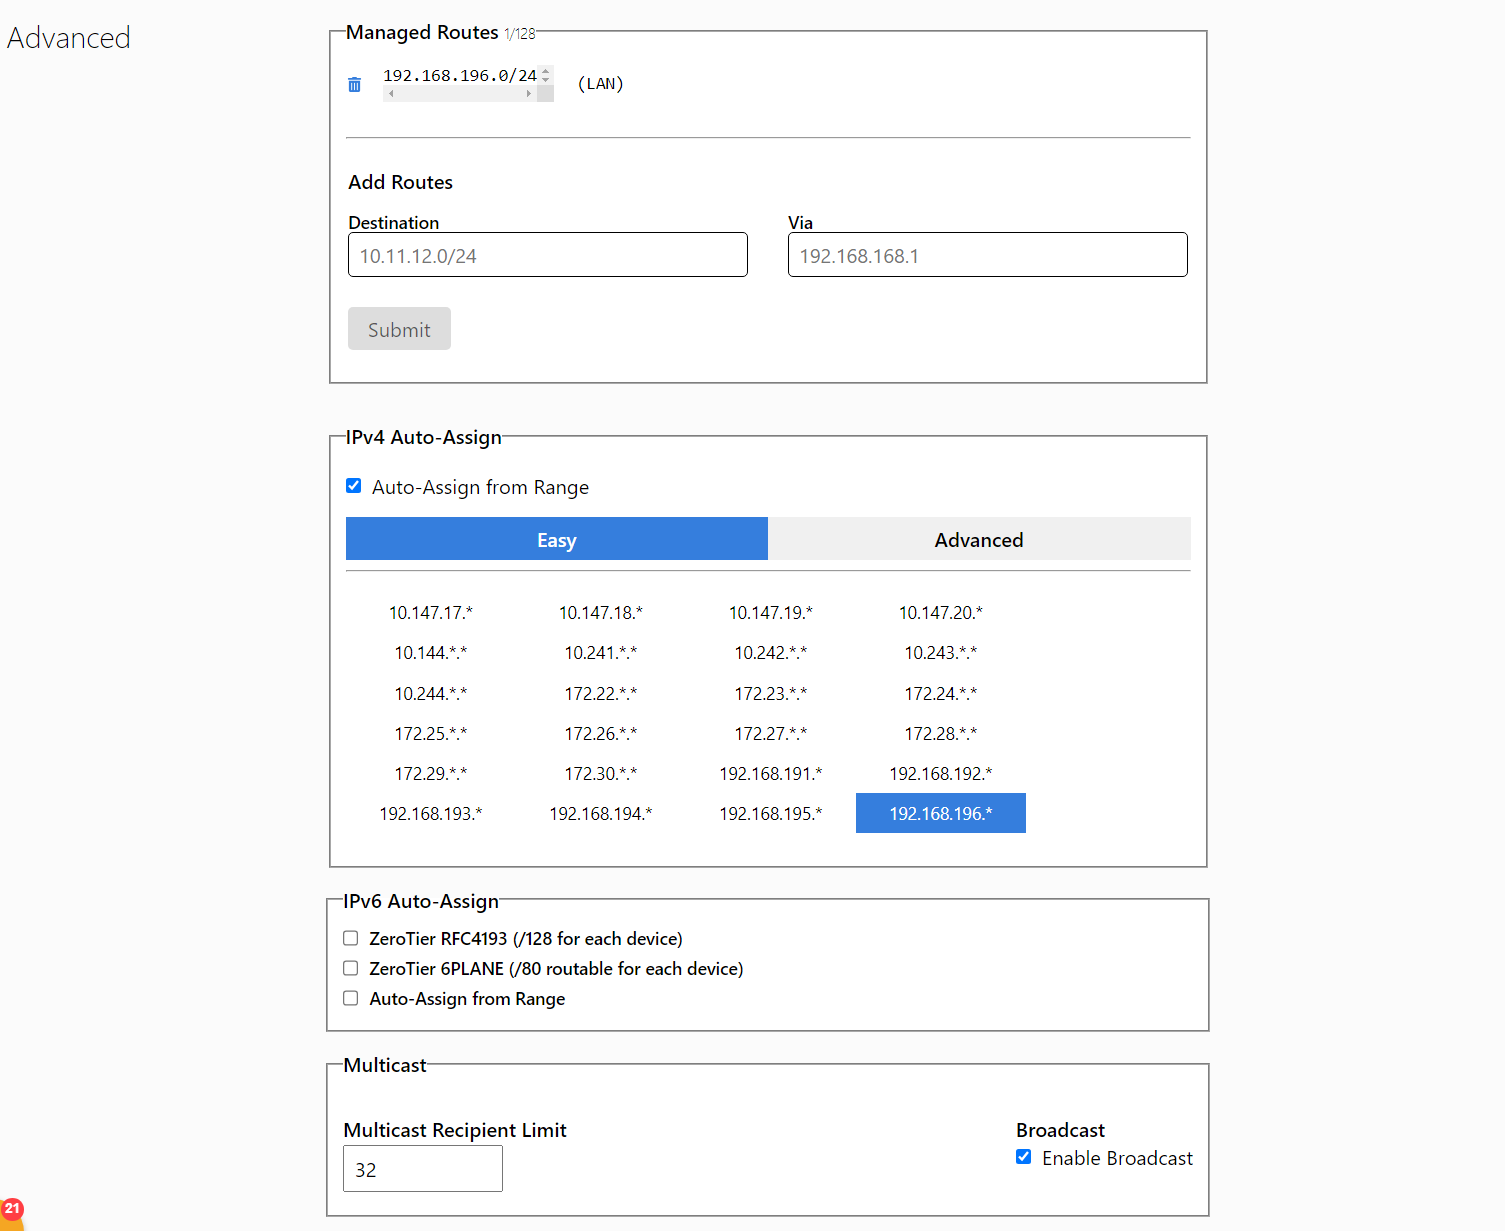
- 接下来就是进阶设置栏。这里可以根据自己喜好设置网段地址和路由等信息。如果嫌麻烦就直接IPv4地址栏选一个记得住的局域网内地址前缀就行,其它无需更改。
在需要组网的客户机上安装客户端并加入组网
1. 桌面端
这里的客户端指的是zerotier-one,官网下载页面有针对各个平台的安装方式。我们远程开发的服务器端一般是Linux系统,手动下载对应的包,或者使用系统的包管理器下载安装均可。
1 | |
macOS和Windows使用的是带有图形界面的客户端,下载对应安装包安装即可。
Linux开启服务并加入组网
- 先用系统对应的方式打开zerotier-one的服务
1 | |
使用sudo systemctl status zerotier-one确认服务是否开启,成功启用的输出如下:
1 | |
使用终端加入组网(复制你刚刚创建好的Network ID):
1 | |
成功加入会显示200 join ok的提示,此时你可以输入sudo zerotier-cli status来确认你当前已经加入了哪些组网并确认是否连接成功,成功加入组网后应该显示如下格式信息:
1 | |
那么此时该客户机已经进入到组网,但是管理员尚未授权其连接,授权方式在下文中统一说明。
Windows/macOS图形界面开启服务并加入组网
在Windows或macOS上的客户端拥有图形界面,加入比较方便。在安装完成后打开ZeroTier-one,右键点击其任务栏图标(个人信息涂黑)
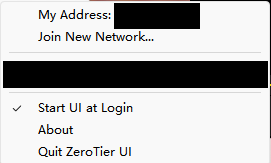
点击Join New Network,在弹出窗口中粘贴你的Network ID
即可。
2.移动端
安卓设备可以在官网或者谷歌商店下载,苹果设备需要外区AppleID进入Appstore下载。下载完毕进入App,点击右上角+号添加新的虚拟局域网连接,进入如下界面:
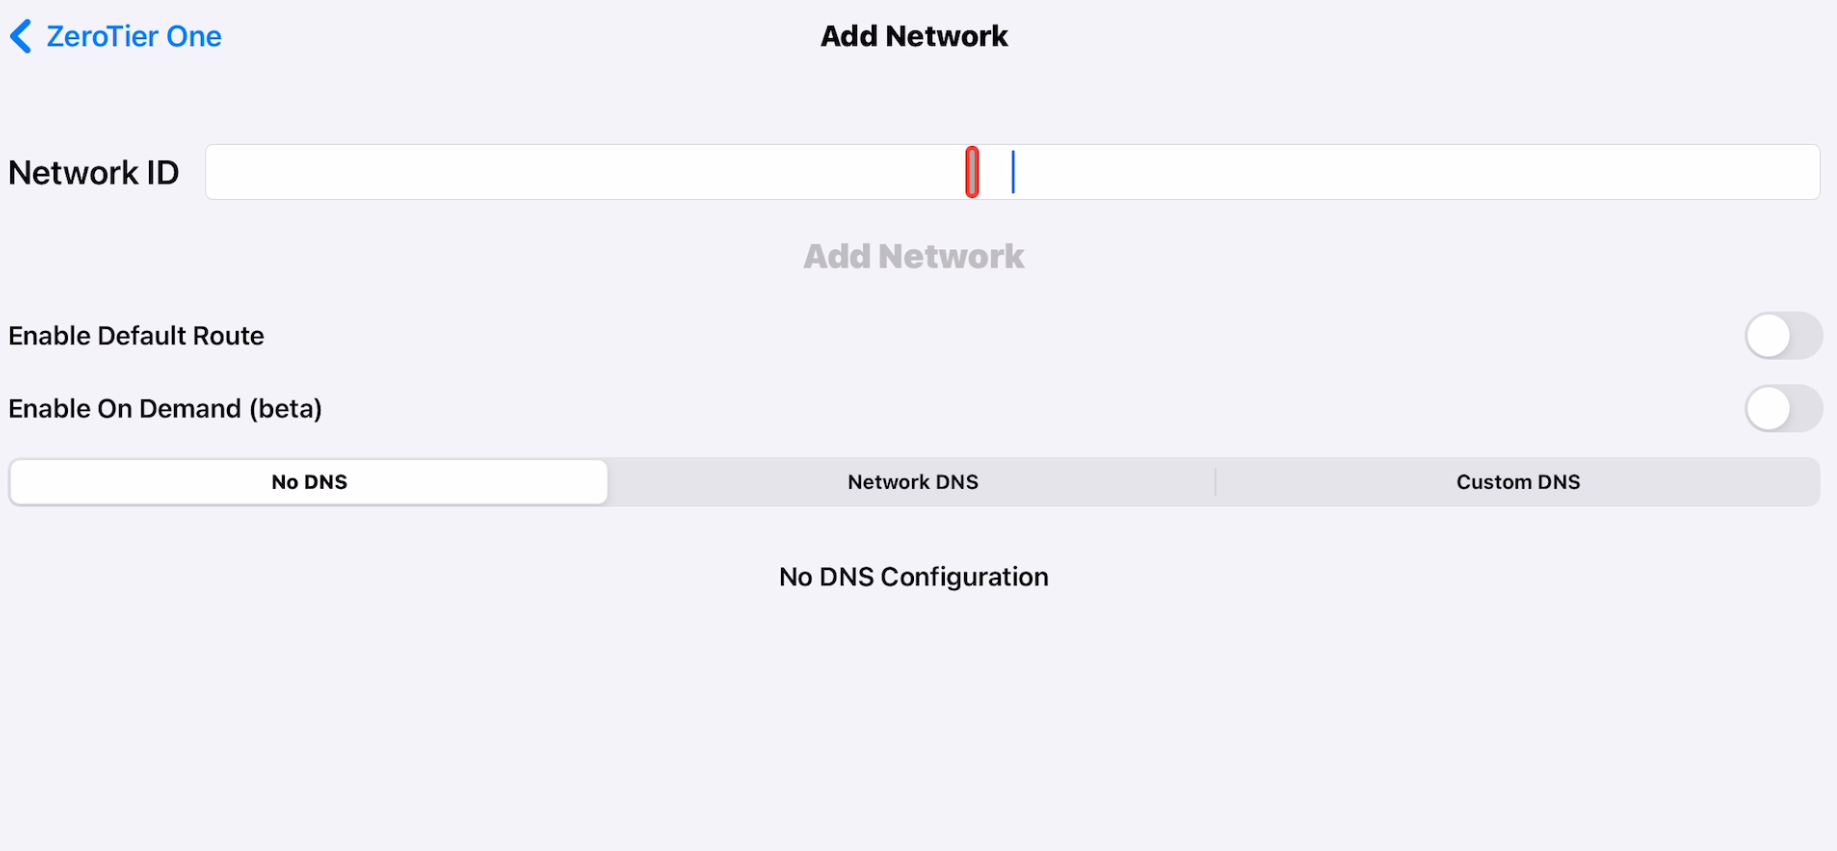
在NetworkID下粘贴你即可。
加入组网后,回到主页面就会出现对应的组网选项,其右侧有开启按钮。开启后一般设备会让你授权打开VPN服务,同意即可。之后开启按钮就会进入对应的组网,你的设备状态栏如果出现了VPN连接的状态,就说明连接组网成功了!但是现在我们还没有授权设备连接至子网,所以不会有对应状态提示。接下来笔者会介绍如何让进入组网的设备可以成功连接至刚刚创建的虚拟局域网。
授权设备登陆
在设备加入组网后,需要进入管理页面允许访问才能在组网中启用设备连接。回到刚刚创建组网的网络页面,在下方的Members成员设置模块中会看到加入希望加入组网的设备:
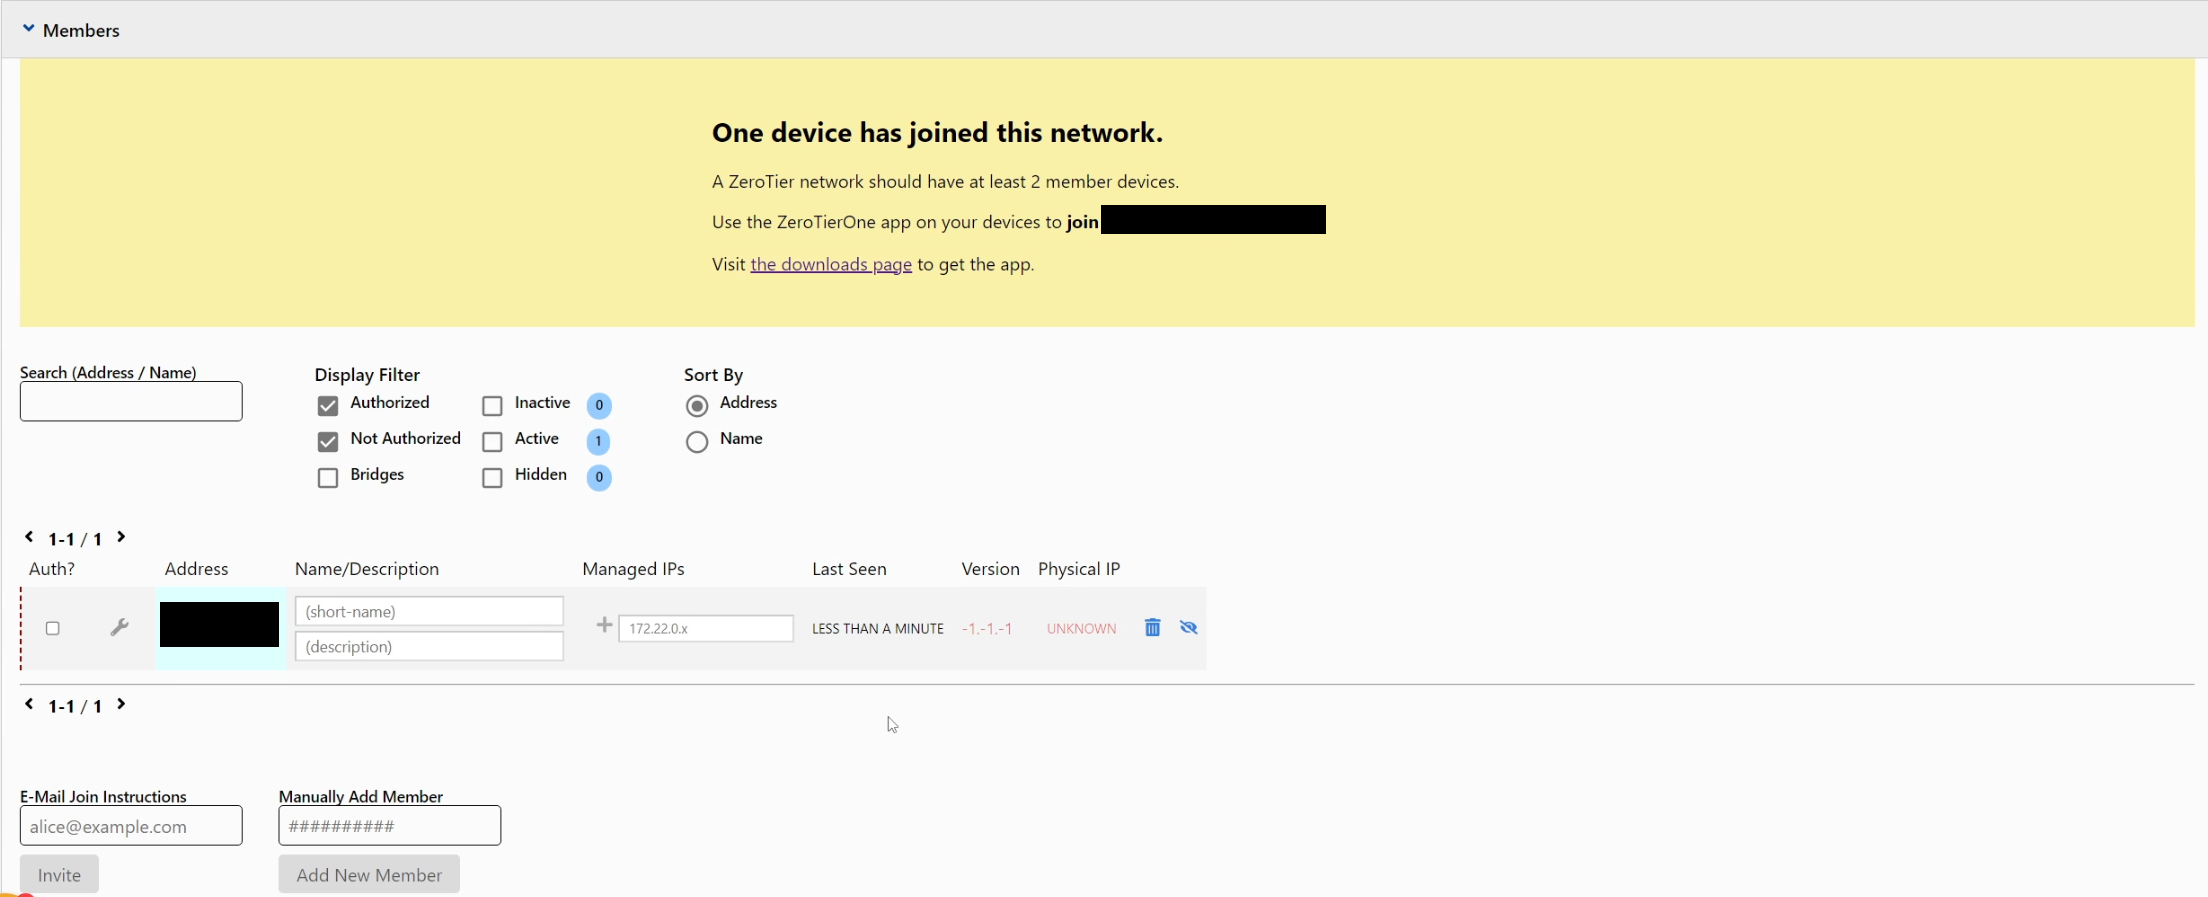
在Address栏中是希望加入设备的物理地址,可以通过终端中输入sudo zerotier-cli lisnetworks,或者在图形界面中查看到当前设备的物理MAC地址,用来匹配所想要加入的设备。
在尚未加入的设备列表前有Auth?的选项框,选中选项框,就可以授权对应设备连接进入虚拟组网了。在后面还可以设置设备名称和指定设备在虚拟组网下的IPv4地址,建议给每个设备设置独立的名称和地址。至此便完成了基本的虚拟组网连接,可以通过组网内的IP地址相互进行ping指令检查连接。
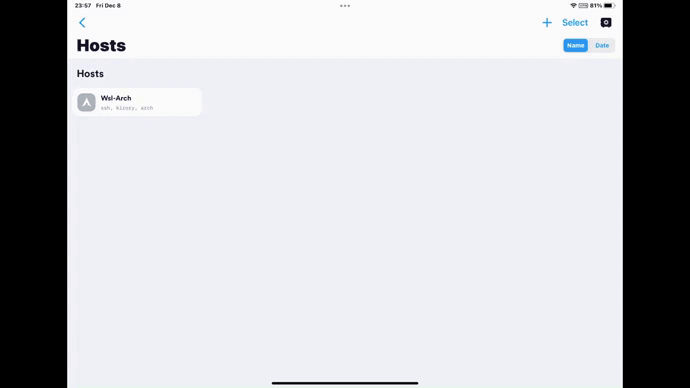
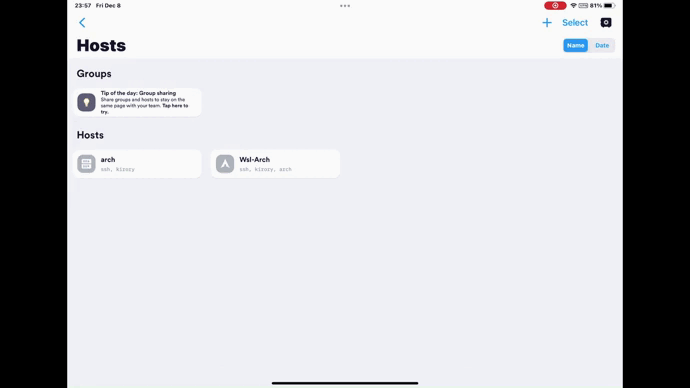
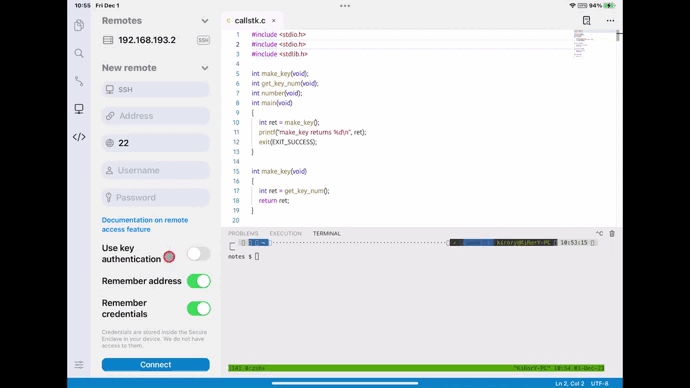
使用移动端的ssh工具或终端模拟器进行远程开发
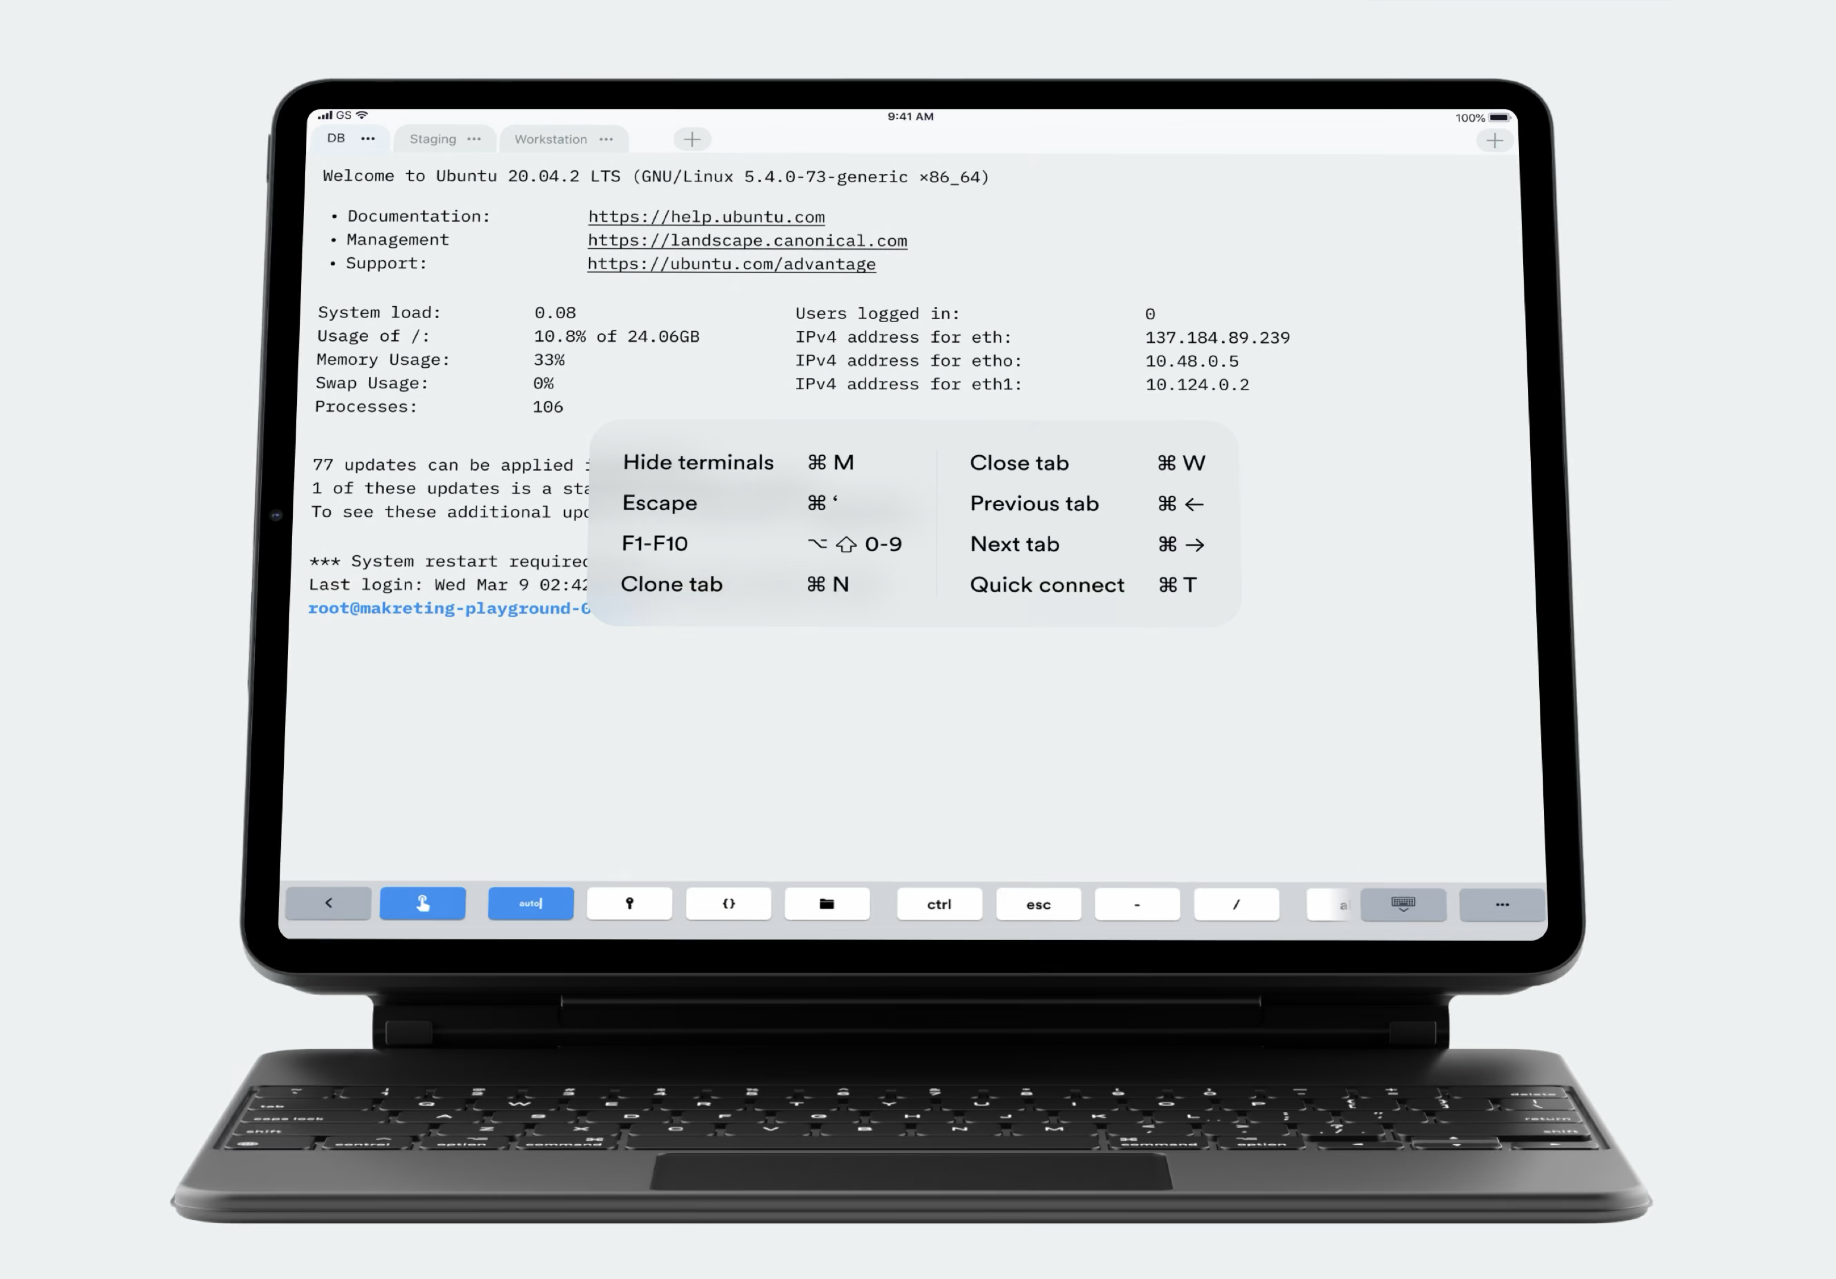
因笔者最近使用neovim编辑器进行开发,所以直接使用了终端模拟器连接进行开发。当然移动端可以用于远程连接的编辑器也有很多,这里可以根据个人习惯使用,下面给出笔者在Termius终端模拟器和code编辑器远程连接的效果,平台均在ipadOS上。
Termius使用效果
添加连接
效果
code使用效果
将手中的移动设备打造为生产力工具!
A practical guide to using ZeroTier virtual networking with terminal emulators on mobile devices, so tablets and phones can be used as remote productivity terminals.
ZeroTier Intranet Penetration + Terminal Emulator to Build a Remote Mobile Productivity Tool
Recently, I researched intranet penetration and tried to find penetration tools. Many online recommendations pointed to ZeroTier for virtual networking, and I also tried using this tool. It's free and essentially offers plug-and-play networking, which is very convenient. Although its servers are external, leading to slower access speeds, it's more than sufficient for use with SSH or FTP. Recently, I also discovered that ZeroTier has clients available for mobile devices, which means that with a terminal emulator on a mobile device, remote development work is possible!
Simple Usage of ZeroTier
Register / Create a Virtual LAN
Go to the ZeroTier official website, register an account and log in. After logging in, you will see an interface like the one below:
- Click [Create A Network] above, and a new virtual LAN will be created in the Network list below, taking you to the LAN settings interface.
- Basic settings allow you to modify the network's name, description, and privacy. It is recommended to set it to Private, as you wouldn't want others to access your virtual LAN freely. The information required for connection is found in the Network ID field.
- Next is the advanced settings section. Here, you can set subnet addresses, routes, and other information according to your preferences. If you find it troublesome, simply choose a memorable LAN address prefix in the IPv4 address field, and no other changes are necessary.
Install the Client and Join the Network on the Client Machine Requiring Networking
1. Desktop
The client here refers to zerotier-one. The official download page provides installation methods for various platforms. Our remote development servers are typically Linux systems; you can either manually download the corresponding package or use the system's package manager to download and install it.
1 |
|
macOS and Windows use clients with a graphical interface; simply download and install the corresponding package.
Linux: Start the Service and Join the Network
- First, start the zerotier-one service using the method corresponding to your system.
1 |
|
sudo systemctl status zerotier-one to confirm whether
the service is running. The output for successful activation is as
follows:
1 |
|
1 |
|
200 join ok. At
this point, you can enter sudo zerotier-cli status to
confirm which networks you have joined and whether the connection was
successful. After successfully joining a network, information should be
displayed in the following format:
1 |
|
At this point, the client machine has entered the network, but the administrator has not yet authorized its connection. The authorization method will be explained uniformly below.
Windows/macOS: Start the Service and Join the Network via GUI
Clients on Windows or macOS have a graphical interface, making joining easier. After installation, open ZeroTier-one, right-click its taskbar icon (personal information is blacked out)
Click Join New Network, then paste your Network ID into
the pop-up window.
2. Mobile Device
Android devices can be downloaded from the official website or Google Play Store. Apple devices require a foreign Apple ID to download from the App Store. After downloading, open the app, click the '+' icon in the top right corner to add a new virtual LAN connection, and you will enter the following interface:
Paste your Network ID under NetworkID.
After joining the network, the corresponding network option will appear on the main page, with an "on" switch to its right. After enabling, the device will typically ask for authorization to open the VPN service; simply agree. Then, the "on" switch will connect to the corresponding network. If a VPN connection status appears in your device's status bar, it means you have successfully connected to the network! However, we haven't yet authorized the device to connect to the subnet, so there won't be a corresponding status prompt. Next, I will explain how to allow devices that have joined the network to successfully connect to the virtual LAN you just created.
Authorize Device Login
After a device joins the network, you need to go to the management
page to grant access before the device connection can be enabled within
the network. Return to the network page where you just created the
network. In the Members settings module below, you will see
the devices that wish to join the network:
The Address field shows the physical address of the device wishing to
join. You can find the current device's physical MAC address by typing
sudo zerotier-cli lisnetworks in the terminal, or by
checking the graphical interface, to match the desired device to
join.
In front of the list of unjoined devices, there is an
Auth? checkbox. Select this checkbox to authorize the
corresponding device to connect to the virtual network. Further down,
you can also set the device name and assign a specific IPv4 address to
the device within the virtual network. It is recommended to set a unique
name and address for each device. This completes the basic virtual
network connection, and you can now check connectivity by pinging each
other using the IP addresses within the network.
Using Mobile SSH Tools or Terminal Emulators for Remote Development
As I recently used the neovim editor for development, I directly used a terminal emulator for connection and development. Of course, there are many mobile editors available for remote connection; you can use them according to your personal preference. Below are the results of my remote connection using the Termius terminal emulator and the Code editor, both on iPadOS.
Termius Usage Effect
Add Connection
Effect
Code Usage Effect
Turn your mobile device into a productivity tool!